Installing insulated panels correctly not only strengthens the structure but also maximizes the material’s thermal insulation and fire-resistant performance. To understand why panel systems are becoming increasingly popular, let’s start with their core value.
Insulated Panels – An Effective Solution to Protect Your Building
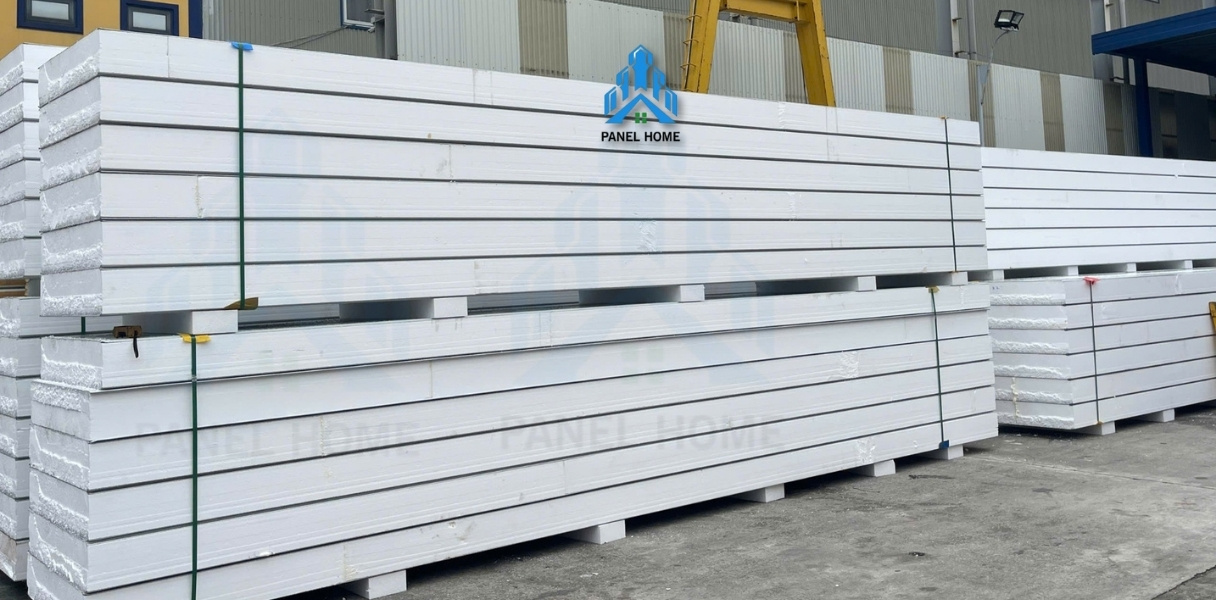
Insulated panels-also known as wall panels or ceiling panels—are widely used in modern construction thanks to their superior thermal insulation, soundproofing, and fire-resistant capabilities. They are an ideal material for various types of projects, including residential houses, factories, cold storage facilities, and clean rooms.
Structure of Insulated Panels
Insulated panels are manufactured with a 3-layer structure:
- Outer layer: High-durability steel or stainless steel with excellent corrosion resistance.
- Core layer: Insulating and soundproofing materials such as EPS foam, PU, PIR, or Rockwool that reduce heat transfer, minimize noise, and enhance fire resistance.
- Inner layer: Matching steel or stainless steel to ensure overall strength, stability, and aesthetics for the building.
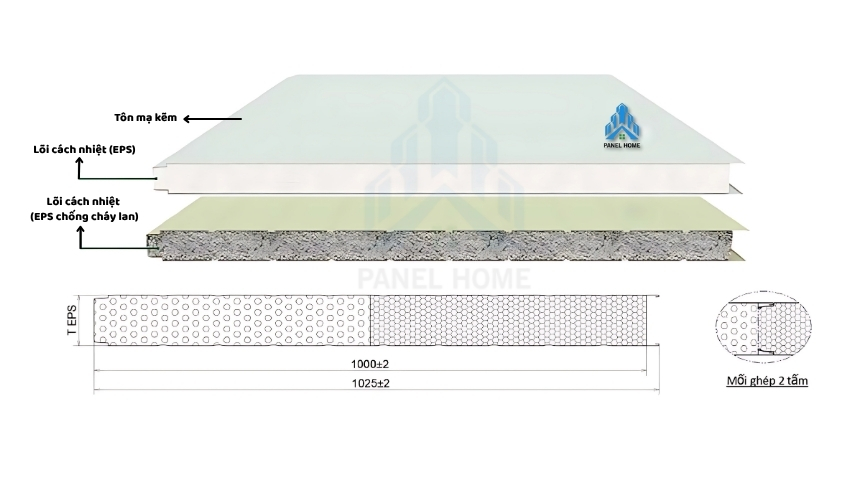
Structure of EPS Insulated Panels
Depending on technical requirements and the intended application, investors can choose the appropriate core material for their panel system. The combination of these three layers creates a complete product that ensures functionality while optimizing cost and long-term durability.
6 Reasons to Use Insulated and Soundproof Panels in Construction?
Insulated and soundproof panels are becoming a top choice for modern projects thanks to their outstanding installation speed. This material offers numerous advantages, including:
- Lightweight and easy to transport: Panels are compact, stackable, and convenient to load and unload, helping save transportation time.
- Quick and efficient installation: Prefabricated panels are produced with uniform specifications and can be connected directly, significantly reducing construction time.
- Flexible installation options: Panels can be installed vertically or horizontally depending on the design while still ensuring aesthetics and functionality.
- Solid and secure structure: Panels are fixed with a durable frame system and connecting components anchored to the floor, wall, or ceiling according to design standards.
- Reduced finishing work: No grinding, plastering, or surface painting is required, shortening the overall finishing process.
- Optimized usable space: Excellent thermal and sound insulation allows walls to be thinner, increasing the usable area of the building.
- Enhanced aesthetics: Smooth surfaces and uniform colors bring a modern look suitable for both compact spaces and large-scale construction projects.
How to Install Insulated Panels Properly: Technical Standards and Time-Saving Methods
Panel walls are made up of insulated panels, steel framing, and connecting accessories. Thanks to their fast and simple installation process, this material is widely used in various construction projects. To ensure a smooth installation, thorough preparation is essential before getting started.
Prepare Materials, Tools, and Accessories
Prepare All Panels, Tools, and Connecting Accessories to Ensure a Smooth Installation
Before installing insulated wall panels, make sure all required materials and tools are fully prepared:
-
Insulated panels: Including interior and exterior wall panels, with the right quantity, consistent thickness, and correct dimensions according to the design.
-
Essential tools: Drill, panel screw gun, measuring tape, laser level, saw, cutter, ladder, and full safety equipment.
-
Connecting accessories: U-channels, H-channels, joint connectors, trimming strips, corner covers, corner posts, curved U-base channels, and various panel fixing components to ensure stability and durability of the wall system.
Guide to Installing Interior Insulated Wall Panels
To achieve durable, aesthetically pleasing, and technically correct interior wall panel installation, follow the detailed steps below:
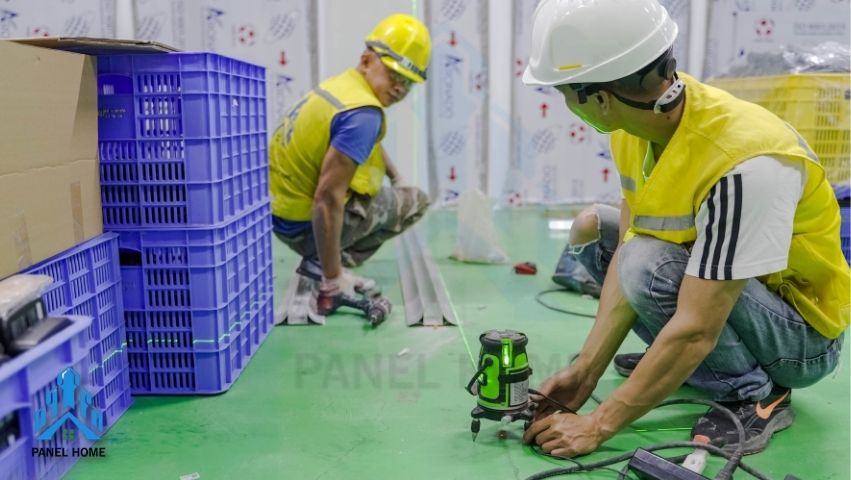
Step 1: Mark the Installation Area
Accurately identify the installation location on the floor and wall using measuring tools, a laser level, or marking equipment. Measure and set up the frame structure according to the design drawings.

Step 2: Install the Framing System
Secure the U-channels to the floor and ceiling at the marked positions. Use appropriate screws to fasten the frame firmly, ensuring it aligns with the dimensions of the panels to be installed.
Step 3: Position and Fix the Insulated Panels
-
Place the insulated panel into the installed U-channel.
-
Continue installing the following panels one by one, ensuring the correct orientation so the tongue-and-groove joints fit properly.
-
Fasten screws at the joint positions, performing each step accurately to maintain the quality of the structure.
Step 4: Seal the Joints and Reinforce the Connections
Fit the panels so that all joints are completely tight, avoiding excessive force that could cause deformation.
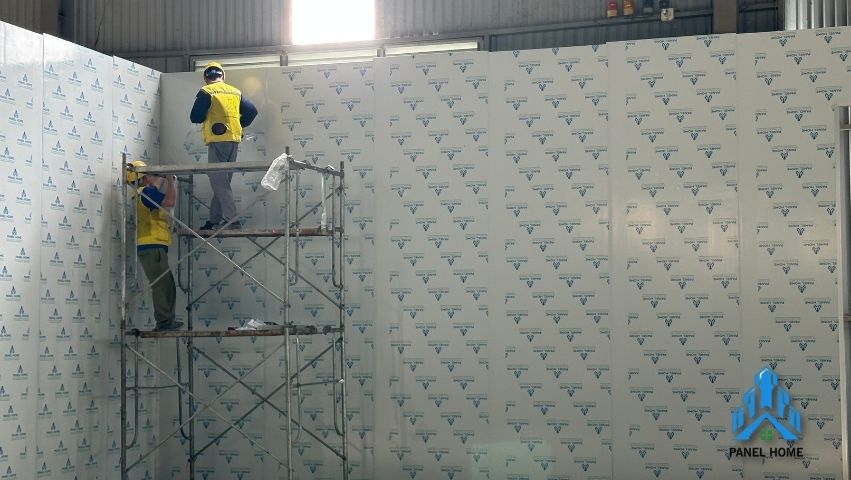
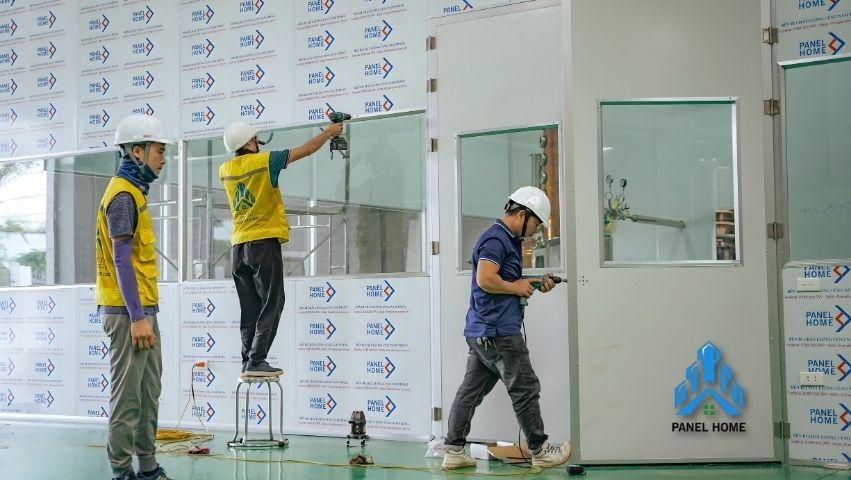
install panel walls (actual construction images from Panel Home for the investor)

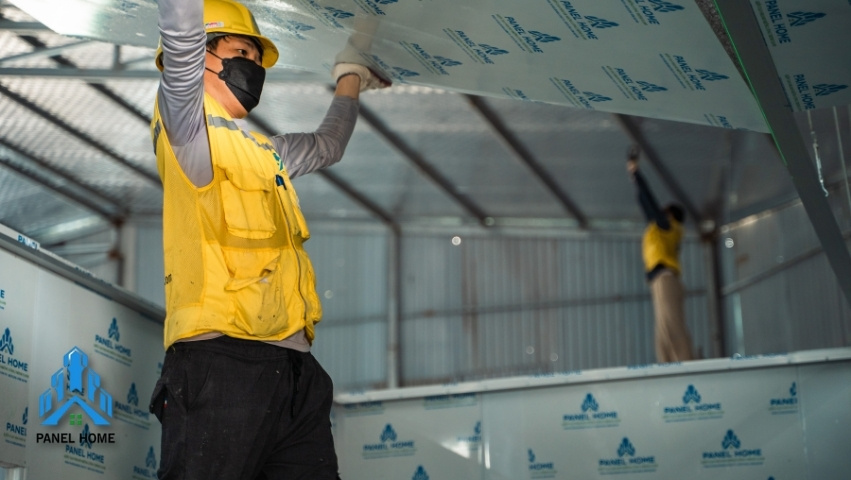
install panel ceilings (actual construction images from Panel Home for the investor)
Use specialized aluminum accessories to secure corners and connection points, ensuring all gaps are fully covered.
Step 5: Install the Door System
At the locations of the main door, secondary door, or windows, the panels will be measured, cut, and adjusted to leave the appropriate openings. Choosing door types that are compatible with the panel system helps ensure both aesthetics and long-term durability for the building.
Step 6: Inspection and Finishing
Check the entire system of screws and accessories to ensure stability. Then apply sealant to all joints and contact points with walls to increase airtightness. Finally, clean the area after installation and hand over the completed project for use.
Guidelines for Installing Insulated Panels for Exterior Walls
Installing exterior panel walls requires modern equipment and a skilled construction team. To ensure quality and aesthetics, the process includes the following steps:
Survey the Installation Area
First, take accurate measurements of the installation area, including wall positions, main doors, and windows. These measurements must be clearly marked to support the installation process. At the same time, calculating the total surface area is essential to ensure the correct quantity of materials, avoiding shortages or excess waste.

Khảo sát và đo đạc chính xác khu vực lắp đặt giúp tối ưu vật tư và đảm bảo thi công đúng bản vẽ.
Thiết kế và lắp đặt khung
Khung thép tiền chế sẽ được thiết kế theo đúng kích thước và độ dày của tấm panel. Sau đó, khung được lắp đặt kiên cố, đảm bảo độ vững chắc, làm nền tảng cho bước lắp panel tiếp theo.
Surveying and taking precise measurements of the installation area helps optimize materials and ensure construction follows the approved drawings.
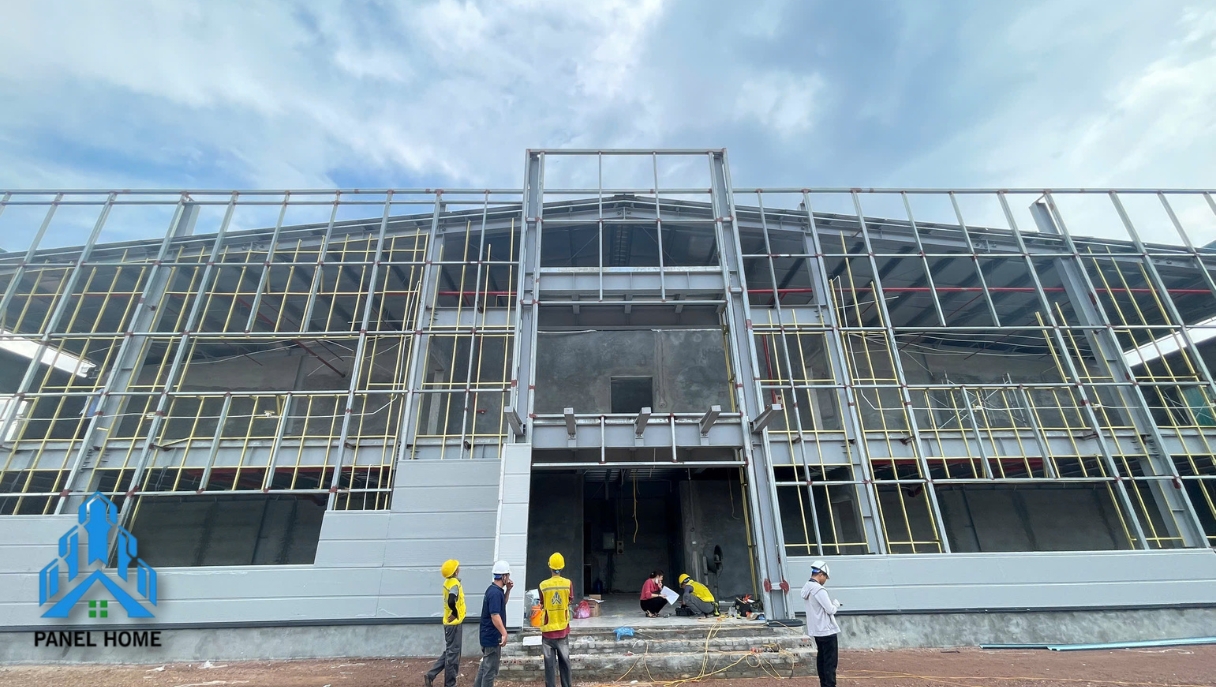
Frame design and installation
The prefabricated steel frame is designed according to the exact dimensions and thickness of the panel. After that, the frame is firmly installed to ensure stability, creating a solid foundation for the next step of panel installation.
Panel installation
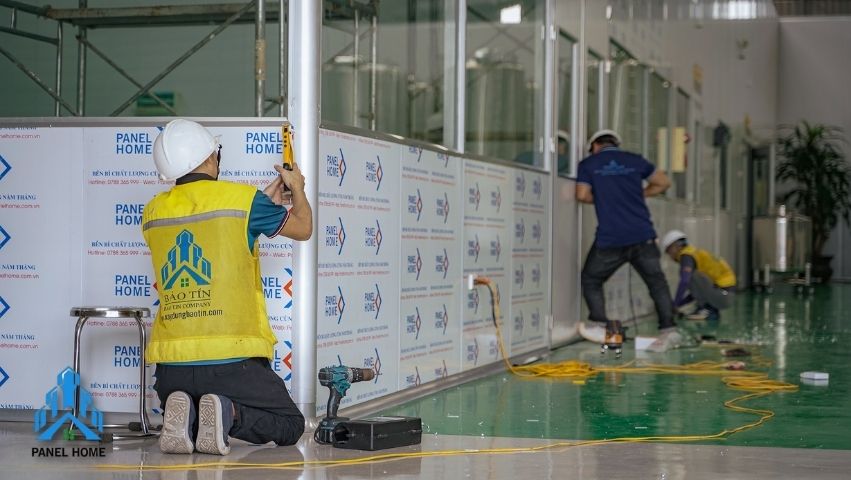
At this stage, workers will drill the screw positions on the frame and mark them with a chalk line to ensure accuracy. The panel is then placed in the correct position and secured with self-drilling screws. The standard screw spacing is about 3 meters; however, reducing the spacing increases overall stability.
The panels are connected using a male-female joint system, then fixed at the base with screws. For higher installation areas, specialized lifting equipment must be used, and all operations should be performed carefully to avoid damaging the panel surface.
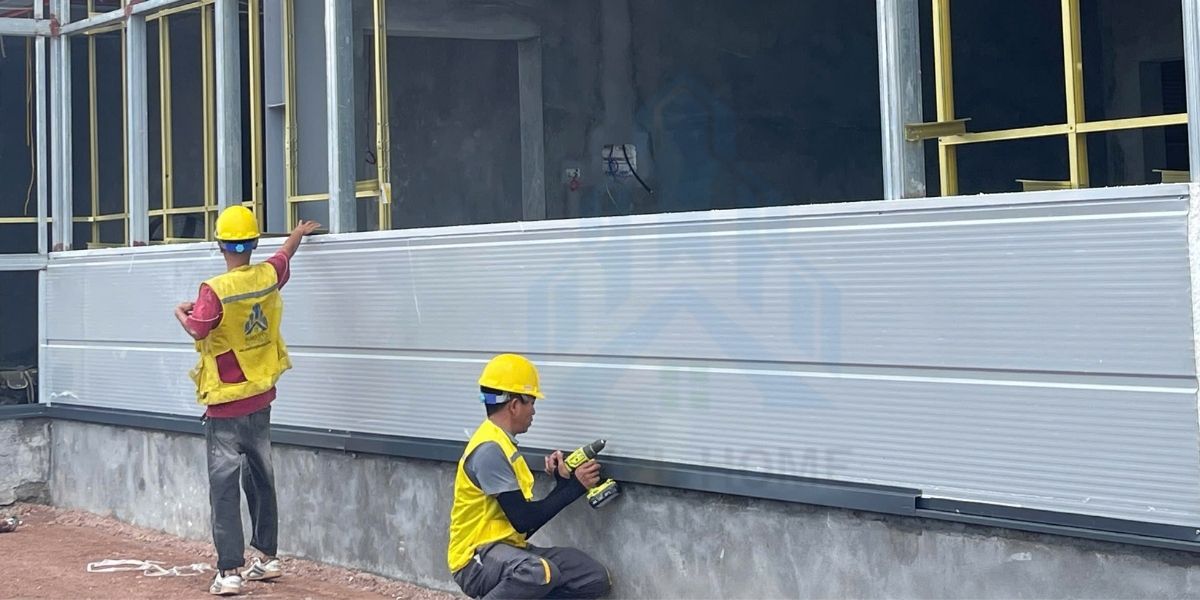
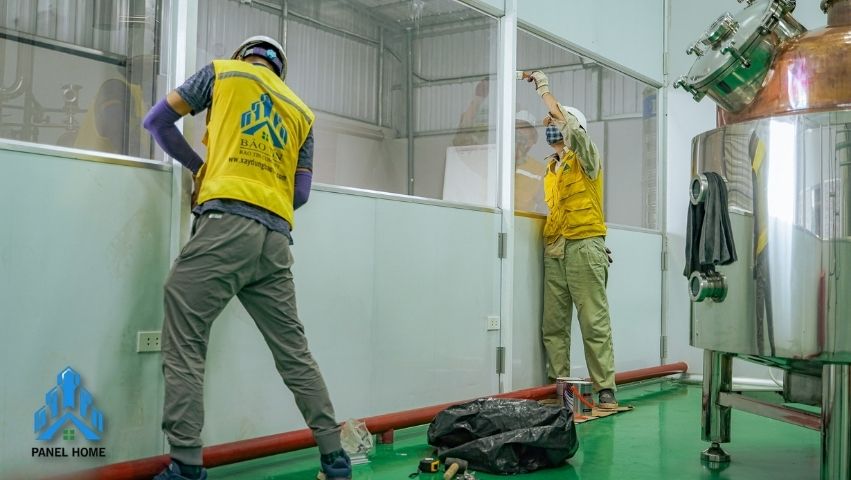
The panel is secured using through-sheet screws, interlocked with male-female joints, and installed according to proper standards to ensure long-term durability.
Accessory reinforcement and finishing
Finally, all connecting accessories will be installed at corners, joints, and gaps to ensure no space is left open. After completion, the entire exterior panel wall system will be carefully inspected before handover.

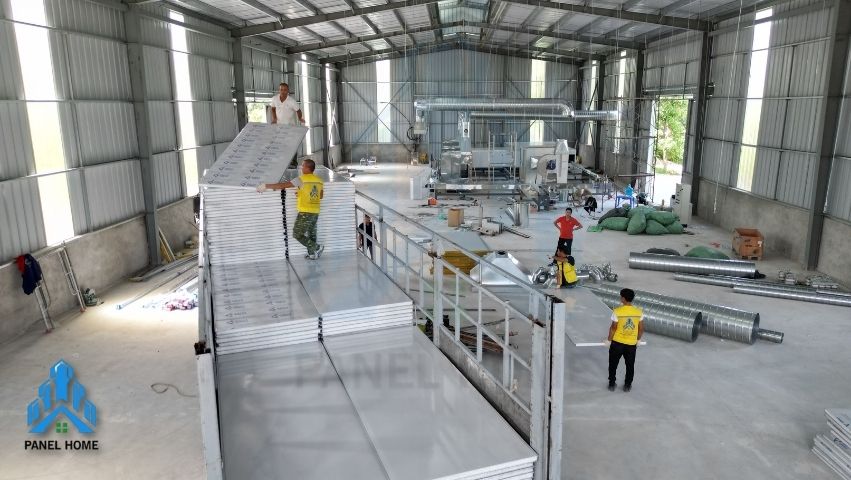
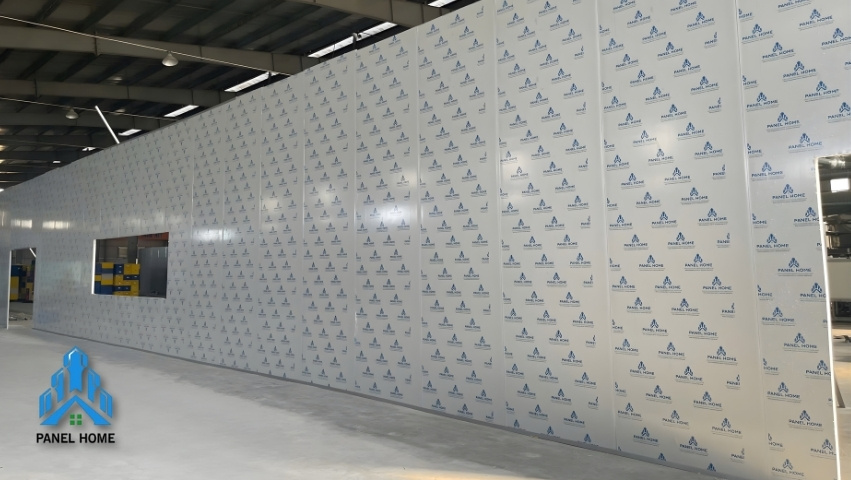
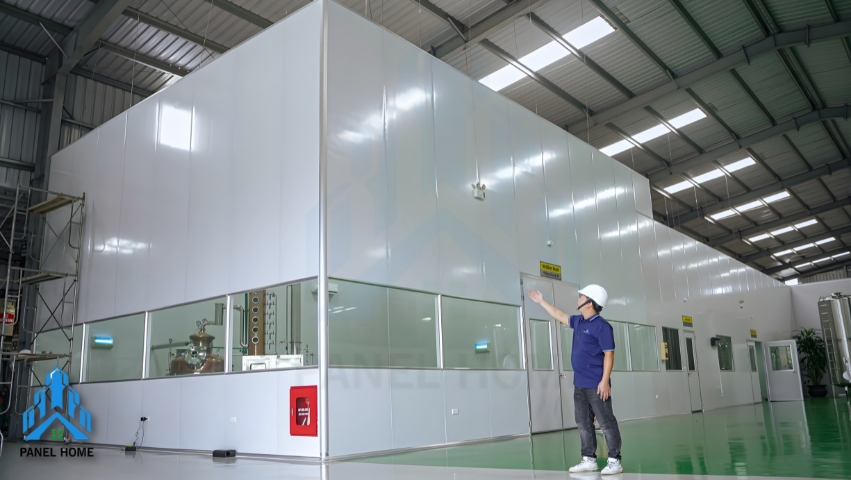
Completed project images (Actual construction images from Panel Home for the investor – packaging production facility)
Installation tips to ensure panel durability and aesthetics
To achieve high-quality results and proper finishing when installing panel walls, pay attention to the following:
- Choose the correct type of panel based on thickness, dimensions, and required performance.
- Follow the manufacturer’s installation guidelines to maintain full thermal and sound insulation effectiveness.
- Avoid improper installation techniques, as they reduce durability and performance.
- Prepare all necessary materials and equipment to avoid interruptions during construction.
- Use high-quality, anti-rust screws and fasten them correctly at the joint positions.
- Ensure experienced workers handle the installation to minimize errors.
- Install panels tightly with no gaps to prevent thermal leakage.
- Keep all panels aligned to enhance both durability and aesthetics.
- Consider thermal expansion of the panels, especially in cold storage facilities or high-temperature environments.
Proper installation of insulated panel walls not only ensures optimal project quality but also brings long-term durability, cost efficiency, and aesthetics.
If you are looking for a reputable and professional panel installation contractor, contact Panel Home at 0901149298 – 0989149859 for the most suitable solution for your project.


